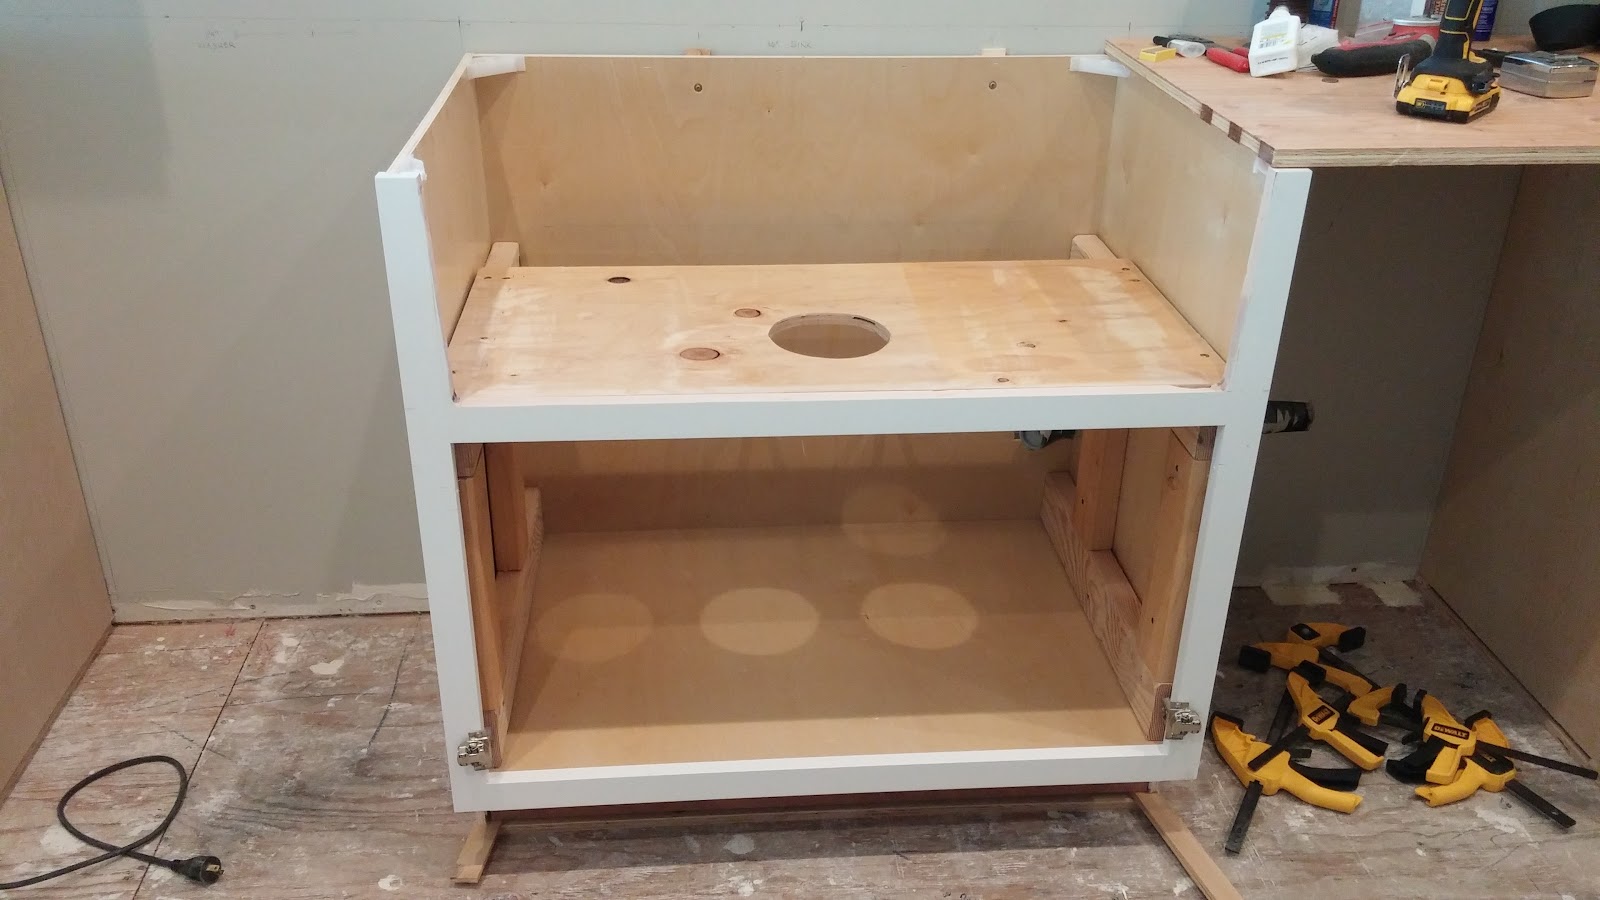
This month, while we love walking around on subfloor, not having a working kitchen, not having a second bathroom of any kind, living out of boxes, we managed to make some important comfort improvements.. It couldn't come too soon. For example try these on for a couple of months..
Master Bath
I finally got around to installing the various hardware.. a grab bar and towel holders for the shower, towel holders for the sinks, and all the pulls for the drawers. It finally feels like we have a finished and functional bathroom..
It sure is a pain to drill through porcelain tile. I didn't want to crack it so I bought an overpriced diamond drill bit which apparently only lasts for 10 holes or so and spend the better part of a day drilling 11 holes in various spots in the tile. It's extremely slow going.. You get tired pushing on the drill. The bit wanders like mad when you're first starting which puts at risk any of your holes being aligned properly. Needless to say it was more difficult then the photos look. Putting the pulls on the vanity drawers was easy in comparison although very nerve wracking since I couldn't afford to make a single mistake (custom vanity and drawers!).. Thankfully it worked out and the old rule of measuring twice and taking it slow worked.
And i can't even begin to tell you how nice it is to have towel holders, toilet paper holders, and functional vanity drawers that we can open and close!


Kitchen
Well we didn't manage to get our kitchen entirely up and running before my sister and brother-in-law visited for several days (and stayed in our spare bedroom). So they had to share our master bath and dealt with the same issues around food and coffee :(.. Close! Because the plumbing got done right after they left.. Sorry!
We did manage to get the tiling and countertops done though in the kitchen which was a big appearance improvement. Also some of the deco panels started to get installed..


Fireplace
The countertop folks installed the fireplace hearth (a leftover piece of our island stone) and the tiler also completed the fireplace tiling..


Carpet
With the painter done on the stairs, the carpets also got installed. This was a big comfort item since it encompasses our entire 2nd story and staircase. In particular the master bedroom and bathroom and guest bedroom areas. Did i mention how nice it is to be able to walk around upstairs without shoes or flipflops on? At least until we have to go downstairs for something..

Windows
We spent a fair amount of time removing all the stickers from the windows and cleaning the gunk off of them. It turns out that the stickers (window protective stickers from the manufacturer) get harder to pull off cleanly the longer you leave them on there - mostly the exterior ones facing the sun. So I had to buy gunk remover and after a lot of elbow grease, get it all off.
But hey, at least we can finally see outside! No more feeling like we live in a winter home.. Oh and all the neighbors can see us too now.. like we live in a big fishbowl :(
See some of the below hardwood floor photos to see how we can see outside now..
Hardwood Floors
Talk about another comfort item.. Remember walking on subfloors? Yech..
I ordered our chosen Hallmark Monterrey Collection hardwood in Caballero Maple for downstairs. After reading the installation and warranty instructions and talking to the guys who sold me the product, I purchased a Powernail Model 50P 18GA nailer, a bunch of nails, and some Aquabar B from home depot and I was ready to go. I figured I could sell the nailer and get most of my money back when I was done (since it's one of the best nailers on the market) rather then going out and renting something used.
My brother in law and I started by doing the dining room. Pretty interesting experience in all.. When nailing to a subfloor like in my case, you have to start from one end of the house and work your way to the other side. This also means that you need a really good chalk line to fit everything to otherwise things will not line up. In my case i had a great line between the subfloor panels that i verified was straight going right down the center hallway of my house that i used as my reference line.
From there i dryfit the boards off that line to figure out where my starting board needed to be in each of the rooms or areas. This is all critical because once you start nailing down boards, they need to meet up in the center hallway and not be off. They also need to be straight down the center of the house or it'll be rather obvious when looking down the long hallway if they aren't. At least that was the plan..


Plumbing
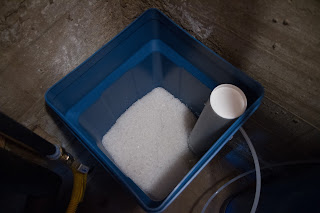
The plumber came out and installed our kitchen and powder room plumbing including sinks and the toilet. Also I had him install a water softener since our water is hard where I live (~150 mg/L) which I had tested via National Testing Laboratories for about $110 after experiencing a lot of calcium buildup on the old house to get the system sized right..

- anytime we want to wash anything like a coffee cup or the coffee maker, we have to go upstairs to the master bath and wash it in the sink there.
- we are still walking around on subfloor with flipflops or shoes on everywhere we go even at night when watching tv
- our tv is sitting on a collapsible work table. our couch sits on subfloor in front of it.
- all meals are either eaten out or microwaved. no real ability to wash or have any dishes.
- living out of a handful of boxes and temporary clothes hangers. most clothes is in the basement and garage since there is no functional closet.
- No hardware in the bathroom.. can't open the drawers, can't hang towels, toilet paper sits on the floor.
- Anytime you set something down it's probably sitting on plywood.
- we want a dog but can't get one.. no place for it to live either
- most evenings and particularly weekends are spent doing projects on the house. starts to get old..
On the other hand, how much can you really complain about being in basically a brand new house of your own design? :D
Master Bath
I finally got around to installing the various hardware.. a grab bar and towel holders for the shower, towel holders for the sinks, and all the pulls for the drawers. It finally feels like we have a finished and functional bathroom..
It sure is a pain to drill through porcelain tile. I didn't want to crack it so I bought an overpriced diamond drill bit which apparently only lasts for 10 holes or so and spend the better part of a day drilling 11 holes in various spots in the tile. It's extremely slow going.. You get tired pushing on the drill. The bit wanders like mad when you're first starting which puts at risk any of your holes being aligned properly. Needless to say it was more difficult then the photos look. Putting the pulls on the vanity drawers was easy in comparison although very nerve wracking since I couldn't afford to make a single mistake (custom vanity and drawers!).. Thankfully it worked out and the old rule of measuring twice and taking it slow worked.
And i can't even begin to tell you how nice it is to have towel holders, toilet paper holders, and functional vanity drawers that we can open and close!


note towel holders inside shower.. nice!
Kitchen
Well we didn't manage to get our kitchen entirely up and running before my sister and brother-in-law visited for several days (and stayed in our spare bedroom). So they had to share our master bath and dealt with the same issues around food and coffee :(.. Close! Because the plumbing got done right after they left.. Sorry!
We did manage to get the tiling and countertops done though in the kitchen which was a big appearance improvement. Also some of the deco panels started to get installed..

countertops before backsplash

countertops with backsplash
Fireplace
The countertop folks installed the fireplace hearth (a leftover piece of our island stone) and the tiler also completed the fireplace tiling..

some of my drawings showing the hearth dimensions and routed edge

trying to figure out the hearth's size with blue tape

the stone installed (hearth and tile)
Carpet
With the painter done on the stairs, the carpets also got installed. This was a big comfort item since it encompasses our entire 2nd story and staircase. In particular the master bedroom and bathroom and guest bedroom areas. Did i mention how nice it is to be able to walk around upstairs without shoes or flipflops on? At least until we have to go downstairs for something..

Windows
We spent a fair amount of time removing all the stickers from the windows and cleaning the gunk off of them. It turns out that the stickers (window protective stickers from the manufacturer) get harder to pull off cleanly the longer you leave them on there - mostly the exterior ones facing the sun. So I had to buy gunk remover and after a lot of elbow grease, get it all off.
But hey, at least we can finally see outside! No more feeling like we live in a winter home.. Oh and all the neighbors can see us too now.. like we live in a big fishbowl :(
See some of the below hardwood floor photos to see how we can see outside now..
Hardwood Floors
Talk about another comfort item.. Remember walking on subfloors? Yech..
I ordered our chosen Hallmark Monterrey Collection hardwood in Caballero Maple for downstairs. After reading the installation and warranty instructions and talking to the guys who sold me the product, I purchased a Powernail Model 50P 18GA nailer, a bunch of nails, and some Aquabar B from home depot and I was ready to go. I figured I could sell the nailer and get most of my money back when I was done (since it's one of the best nailers on the market) rather then going out and renting something used.
My brother in law and I started by doing the dining room. Pretty interesting experience in all.. When nailing to a subfloor like in my case, you have to start from one end of the house and work your way to the other side. This also means that you need a really good chalk line to fit everything to otherwise things will not line up. In my case i had a great line between the subfloor panels that i verified was straight going right down the center hallway of my house that i used as my reference line.
From there i dryfit the boards off that line to figure out where my starting board needed to be in each of the rooms or areas. This is all critical because once you start nailing down boards, they need to meet up in the center hallway and not be off. They also need to be straight down the center of the house or it'll be rather obvious when looking down the long hallway if they aren't. At least that was the plan..

all of the hardwood still in boxes

new toy

starting in the dining room

dry fitting off my reference line to figure out where and which starter board to start with

figuring out which of the three board sizes (6, 8, 10") to start off the wall first and where exactly

similar problem here in the powder room which has to come out and meet up in the hallway with the other boards perfectly

one of my more tricky spots.. cutting a board tight around this staircase post without leaving a seam

one of our board sorting working areas.. random width and length boards make for more planning


kitchen is done at this point.. started working towards the front of the house


here is the staircase post later when i made my cuts to go up tight against the post and stairs. Turned out nice!

my backyard working area and scrap pile

the front of the house entry area done

front of house leading towards office

I like this shot because you an see our coach/entertainment/dining setup for the evenings while we were still working the floors

you can see our makeshift entertainment system

almost done!

done!

Another area i was unsure of was what to do with my hearth stone and how the floor should tie into it. This is some of my detail work around the fireplace hearth. Had to rip and miter some boards to tie the other boards into the hearth.
The plumber came out and installed our kitchen and powder room plumbing including sinks and the toilet. Also I had him install a water softener since our water is hard where I live (~150 mg/L) which I had tested via National Testing Laboratories for about $110 after experiencing a lot of calcium buildup on the old house to get the system sized right..


In the end the softener + installation cost me about $1000 installed and was worth every penny. No more build up on shower glass, fixtures, dishes, appliances, etc. Soap is much more foamy so you can use less of it. And the cost of salt is really low.. The two of us are probably only going through a $3-5 bag every 2 months.