Wednesday, April 29, 2015

Construction - Month 15 - Master bath, electrical fixtures and fans, kitchen start

Month 15 (Weeks 57-60)

The house limps along.. Someone told me recently that once you get to drywall, you're only halfway done. Boy were they right..

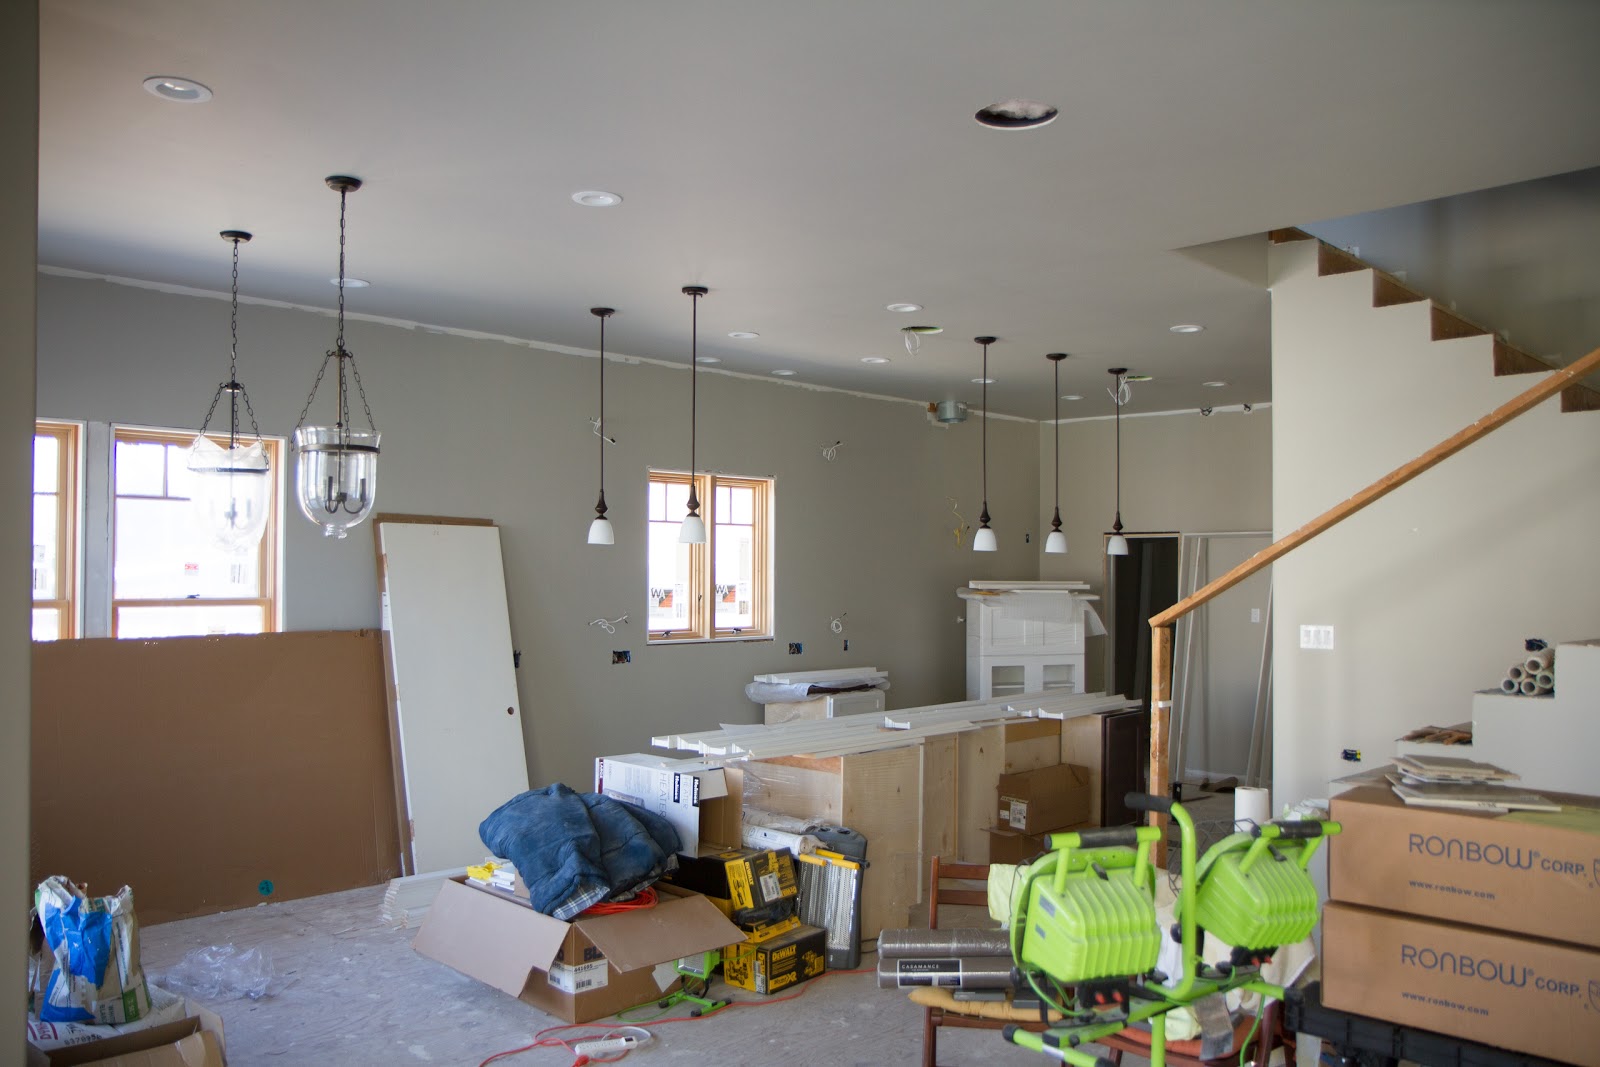
This month we saw a whole bunch of electrical fixtures go in (all the remaining ones). This is primarily the ceiling lights in the laundry room, staircase, upstairs closet, and a whole lot of ceiling fans.

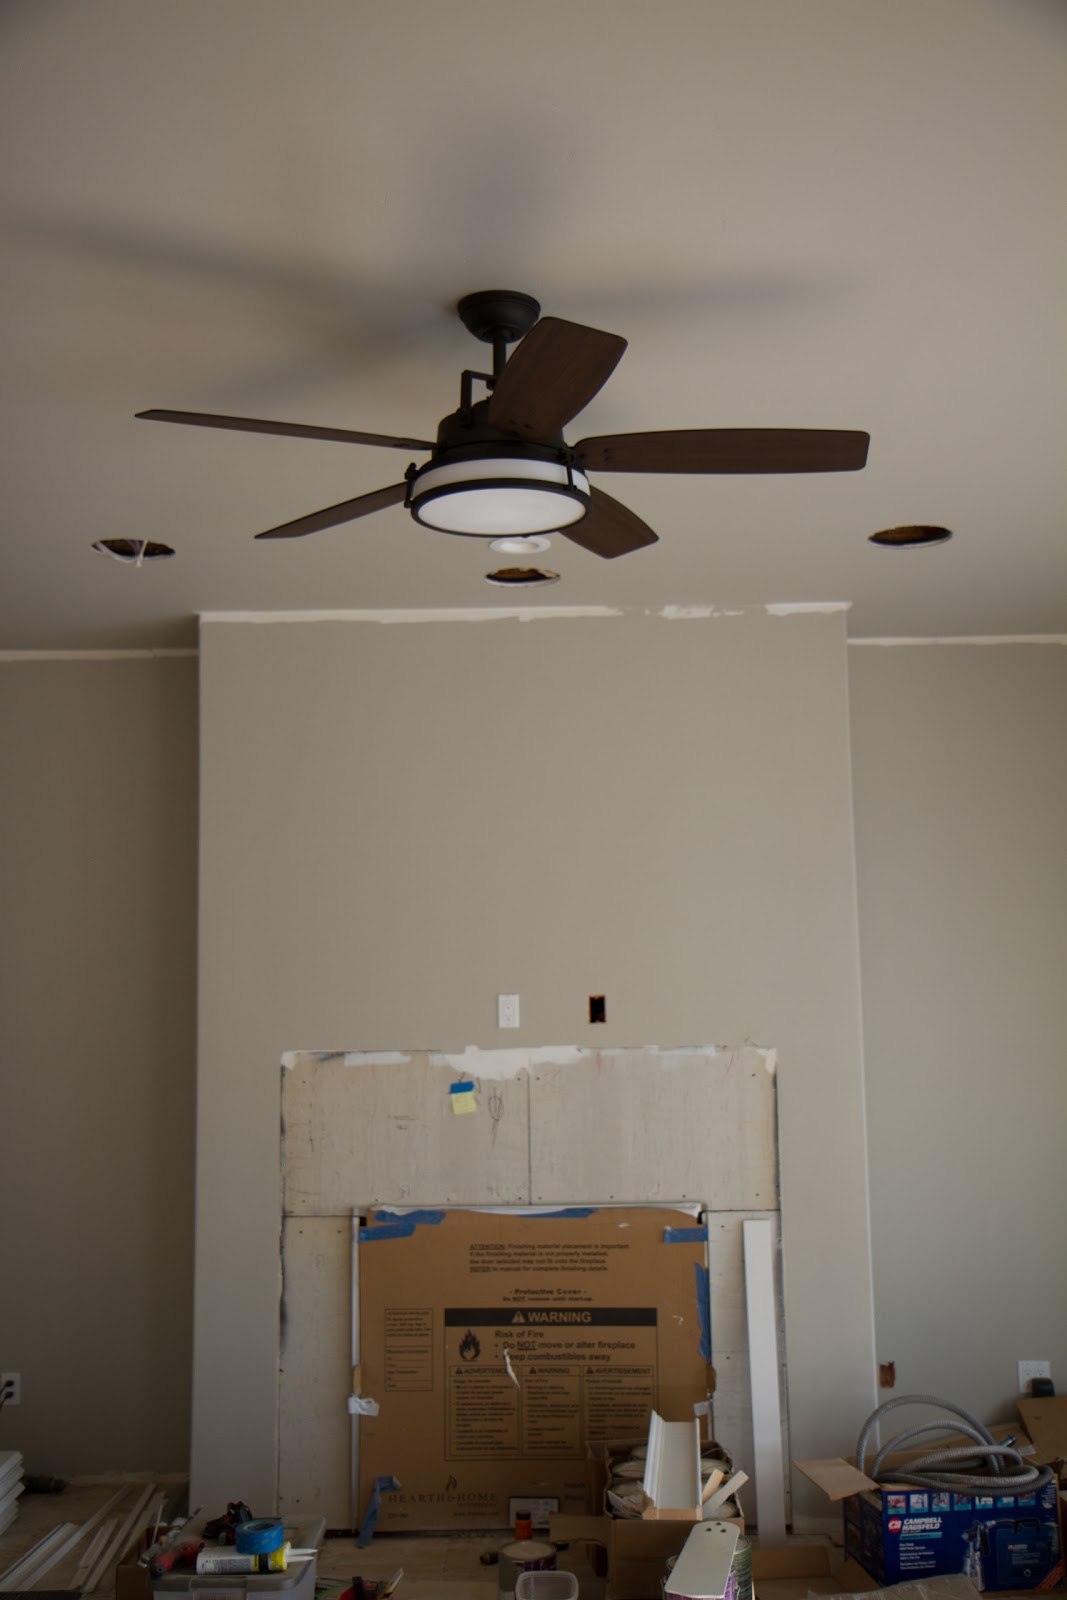
pergola fans.. wet rated


family room fan


bedroom/office fans


master bedroom fan (we're not crazy about it)


staircase lighting

The powder room got it's feature wall tiled after we figured out what light fixture we were putting in there and realized we had to change the wiring from two fixtures on each side of the mirror to a single overhead fixture. Some drywall destruction and cables being moved later, the wall got floated and tiled..


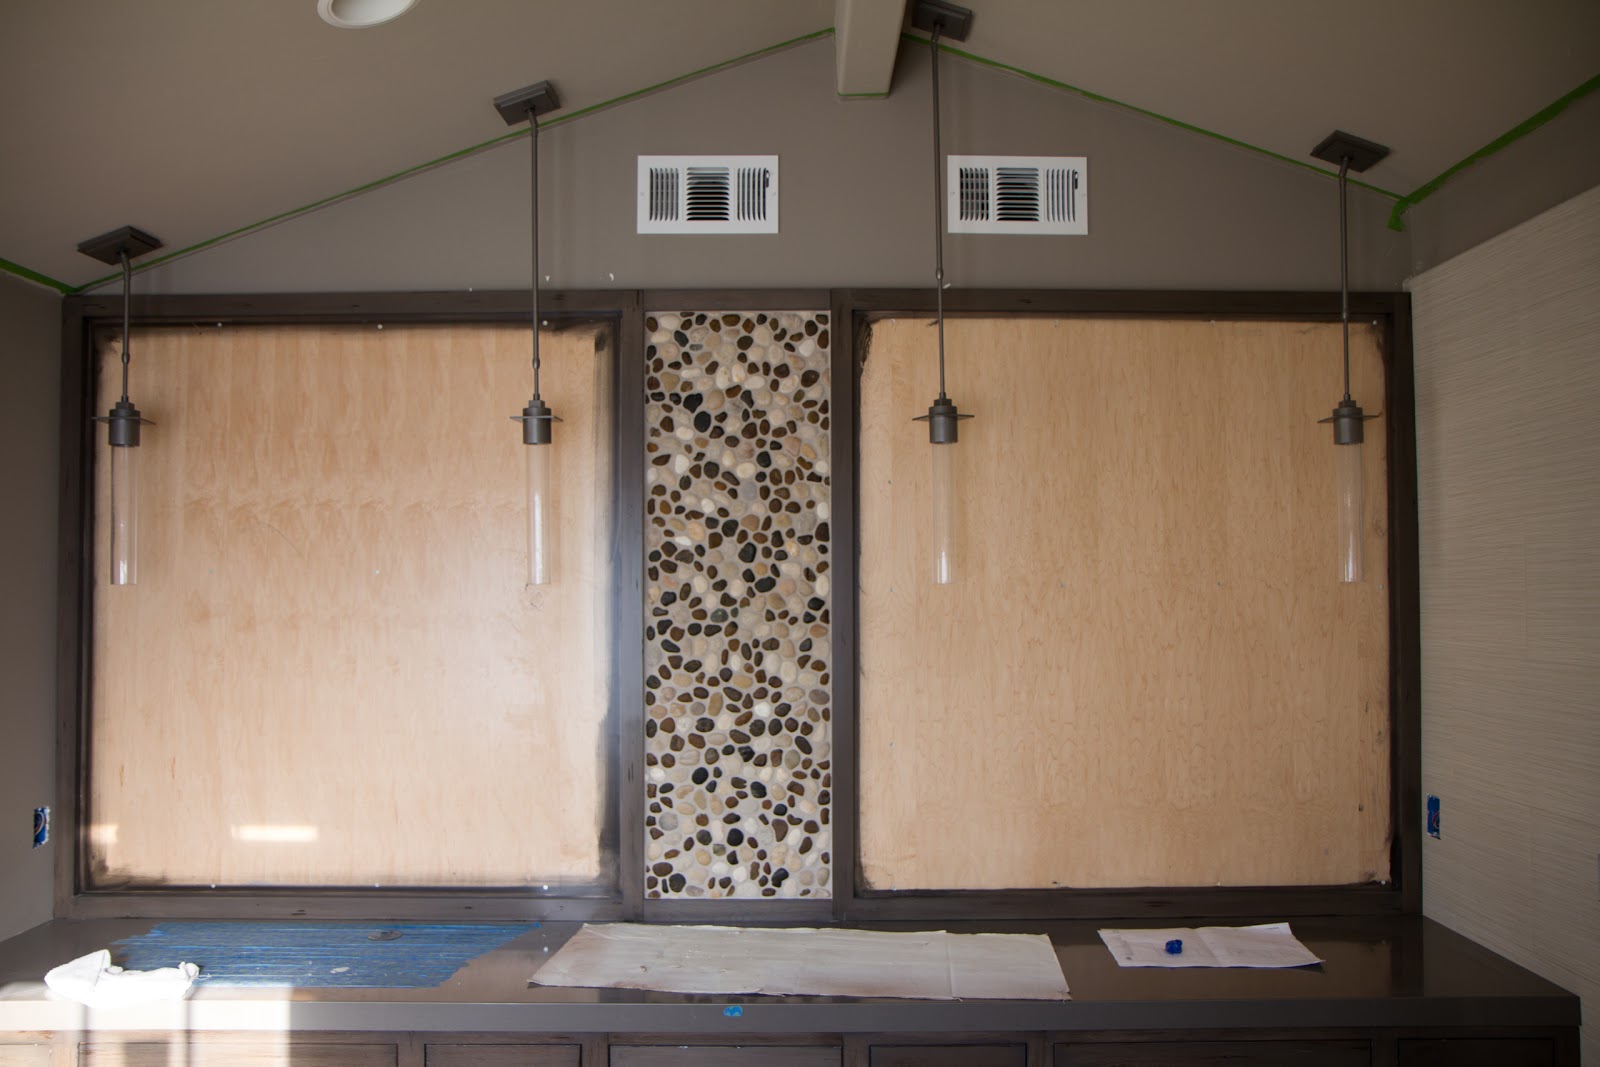
The master bathroom made progress! They figured out the radiant floor problem and repaired it. They then tiled it and installed the vanity. The Vanity got it's Caeserstone countertop as did the shower wall and curb. The Hubberton Forge lighting got put in and the frames for the mirrors went in as well. All that's left now is the sinks, faucets/plumbing, tub, toilet, shower glass, and mirrors which should wrap up next month.

flooring tile and pebble grout


hubbarton forge lighting, mirror frames, and pebble accent


custom vanity


shower floor and curb/wall tops in caeserstone


shower shampoo niche

Meanwhile we built more headers and footers and caulked them for upstairs. Then installed them.. 

I also got some plywood for the kitchen cabinets to sit on after some trauma going to three different Home Depots because the first two's saw was out of order.


future base/wall cabinet locations

I then measured and sketched out the kitchen layout in preparation for installing the cabinets when they arrive in the coming weeks. Thankfully the measurements all seem to be working and lining up with everything.. E.g. everything plays out from the center of the kitchen sink window and things like the peninsula's lighting and the range's hood exit line up perfectly. It would've sucked if something major was off this late in the game.. Even the electrical cables coming out of the wall for the under counter lighting and in-cabinet lighting appear to be in the right place.


Lastly, we passed our electrical inspection which is huge since it means we PG&E will now permanently hook up the house to power. No more having only 30 amps of power for the whole house and now the fence can come down since the house can be locked up.

Tuesday, April 7, 2015

Construction - Month 14 - Laundry Room, Master Bedroom & Bath, HVAC

Month 14 (Weeks 53-56)

The master bathroom made some progress.. Namely they caulked the shower and feature wall tile and our custom master bedroom vanity has finally been completed! It arrived along with the mirror frames and toilet shelves that were done in the same style.


Unfortunately while all that did happen, the installation of it all sat and for two weeks nothing happened. The radiant heat floor was still damaged and they haven't been able to repair it so everything sits until they figure that out. Frustrating.. it's been damaged for 6-7 weeks.


The laundry room floor was also tiled and caulked with the tile we chose that resembles hardwood flooring.


Lastly, the HVAC guy showed up and they installed the two condensers and replacement thermostats so everything is working now.


In the meantime and while they didn't get much work done, I got a lot of work done. I built out the french doors on the lower and upper floor and the master bedroom to get them ready for trim installation..


We also completed the majority of trim that was left downstairs by building, caulking, and hanging over 20 headers and footers. The downstairs is starting to look a lot more complete..


I then turned my attention upstairs where I ripped through the remaining vertical pieces of material that I had installing them on the majority of the upstairs doors and windows..


Friday, March 13, 2015

Construction - Month 13 - Exterior, Master bath and bed, Trim, Electrical

Month 13 (Weeks 49-52)

We got another weekend of rain which is terrific since we need it so badly around here, but thankfully it didn't impact the project much by landing on the weekend.

The master bathroom tilework was finishing up until we ran into a snag.. The design had a pattern of pebbles mixed within the regular tiles and we and the designer both looked at it and decided it was "too busy". So we asked the tile guys to remove roughly half of them. Sadly, this isn't simple when the tiles are on top of a warm floor mat. They have to meticulously remove the pebbles and thinset right down to the warm floor mats without damaging the warm floor mats. Worse yet, they actually did damage one of the wires and now someone has to come in to repair the warm floor mat wires. In the end this sets progress back a few weeks while all this gets sorted out..


empty tiles = how many spots initially had pebbles


We also ran into a snag with our choice of countertop for the vanity. The recent dock worker strike is causing delays in getting materials and it just so happens that the Caeserstone we'd wanted is delayed a couple of months. So we had to go with an alternative that looks almost identical. We're happy enough..

The rest of the bathroom seems to be progressing along.. We got the sinks, faucets, the vanity is being finished, and soon everything will come together and get installed so that we have a working bathroom.

The master bedroom box beams were installed, stained, and finished..


The master bedroom fireplace mantel was installed, stained, and finished..


The front door was stained and finished..


Progress on the downstairs trims continues along. We built a suite of headers for various doorways and are carefully caulking them and filling nail holes before I mount them over the various doorways..


Also, I've been building out the windows and doors that aren't flush with the drywall. For the windows, this involves buying some wood, cutting and ripping it to the length and depth needed, and gluing+nailing it into place. Then, since i'm not doing a 1/4" offset, i'm filling the cracks with house bondo and sanding it down so that it looks like it's just an extension of the jams. 


For the french doors, i'm doing a 1/4" offset which is easier then doing the bondo thing, but there I have a different problem. The build out's need to bet set 1/4" in and i need to use shims to position them properly along with regular nails to put them in place.


In other news, the electrician has been onsite installing exterior lights, outlets, switches, smoke detectors, and lights. Pretty soon we'll be able to turn the lights on and use the outlets which will be nice even though it's still all running off of our temporary power pole..


Lastly, a large part of the month focused on wrapping up the exterior of the house. The things that you may notice in the latest photos include:

  • Paint - all complete
  • Built rear porch step banisters
  • Build basement banisters
  • Fixed and installed gutters and downspouts
  • Installed exterior lighting
  • Completed the various banister columns
  • Installed exterior electrical outlets
We couldn't be happier with the look of everything and think it really turned out nice despite our nervousness around many of the selections (which we did ourselves and didn't have much help with)..


Tuesday, January 27, 2015

Construction - Month 12 - Exterior Banister/Corbels/Columns, Exterior Paint Prep, Master Bath Started, Interior Trim Install

Month 12 (Weeks 45-48)

The rain stopped so quite a bit of work got done this month.. We can feel the date where we can move back in approaching finally.

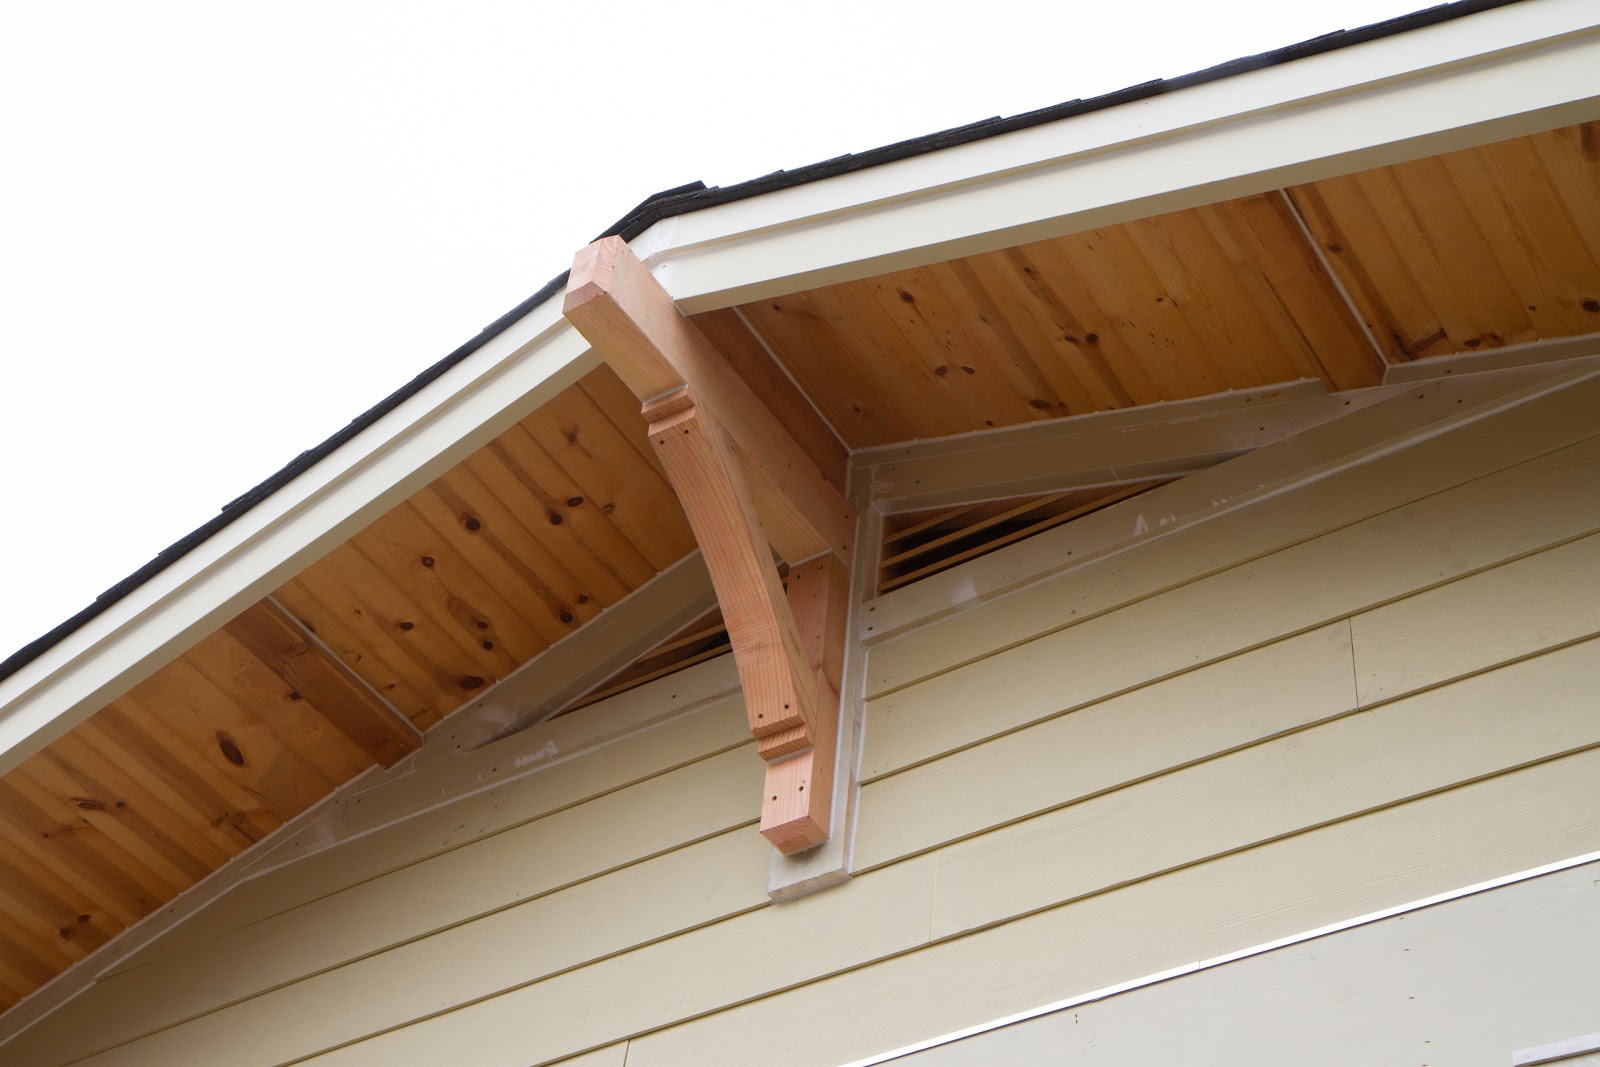
The builder mostly worked on wrapping up the exterior and preparing for paint, and getting going on the interior bathrooms and master bedroom. For the exterior, they mostly finished the banisters, columns, pergola, and corbels. Also the paint guys spent nearly two weeks prepping the outside for paint by caulking everything, sanding certain things, and covering the windows..


The tile guys installed the initial paper barrier and chicken wire, and then came in and floated the floor, shower and feature wall with mortar. So we're almost to where they'll start installing the radiant heat flooring and tile.


before floating everything


after floating everything

We have also been wrapping up some of the interior painting that needed touching up (2nd coats) and painting the master bathroom.. It turns out that the Aura bath version of the paint really does seem to require two coats in the bathrooms. It has a bit of a more oily feel then the non bath version of the paint and it doesn't cover as effectively.

Lastly, we got the interior trim going which I've never done before. Our trim is is 7 different pieces that need to be assembled as I showed previously. We started by deciding to paint (spray) all the materials before cutting and assembly figuring this would look great and minimize brush strokes. So I borrowed a friend's sprayer, bought myself a saw, did some research, and got to it!


my first saw


spray painting the trim outside


First object that i trimmed!


uhg.. not the gap i was going for..


first door trimmed


a set of french doors with trim


what the great room looks like during all this..

You have to pay a lot more attention while doing trim then you do painting. I've gone from listening to podcasts while painting to just music for trim so that I can concentrate. However i'm probably saving nearly $20k doing the work myself and it's actually pretty satisfying albeit slower then i'd like. So far, i'm lucky to do a window and door per full day's work. But a lot of that has to do with how flush the drywall is with the jams and I've gotten more efficient in general. E.g. now I will miter all the end pieces since they're the same in mass since you tend to get in a rhythm when you can build a bunch of things all at once rather then doing just one window or door at at time.

One thing that's half art, half science, and has a good dose of energy is hammering in the drywall around the frame if it stands proud of the jam so that the trim sits flush to everything. I've gotten a lot better and faster doing it now and refined my technique.

In hindsight, the materials get banged up a bit during assembly so I may change tactics a bit and spray the header and footer after assembly and before mounting to the walls. I think that'll work better in the long run. Anyways, maybe i'll post some photos of the process on my next update...