This month, some significant progress was made in a few areas..
Paint..
The interior walls were repainted by the painting company after there was a lot of overspray due to their painting the trim. They made a mistake painting one wall in gloss when the whole house has matte walls however they corrected it once we pointed it out.
Also they made quite a bit of progress painting and staining the stairs. We've had a lot of issues with the look of the stain.. It's very dense wood and wasn't taking the stain well. There was a lot of inconsistency in the stain being darker and lighter here and there. Also runs in the stain which looked a lot like wet stain dripped down along the wood and created darker areas. Then the gloss finish also was pretty coarse looking like it needed sanding. But we've been working with the guy and things continuously look better as they work no and rework on the stairs.
Kitchen..
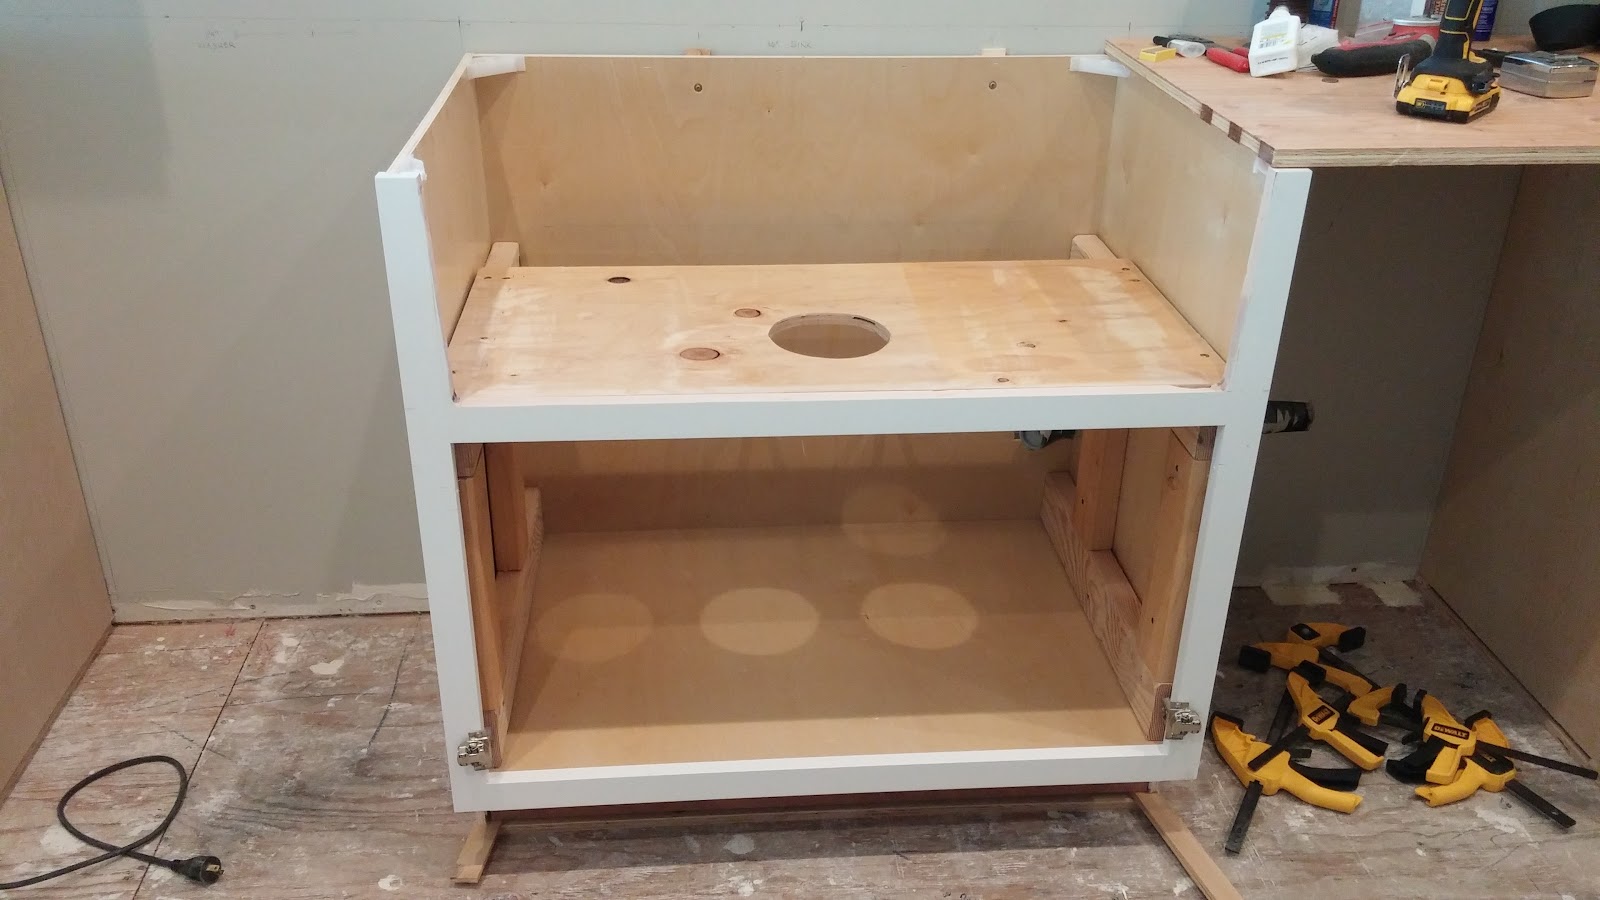
The kitchen sink needed to get installed which meant cutting out the front face of the base cabinet after creating a template from the sink itself. I ended up cutting it out with a jigsaw after carefully tracing where i wanted to make the cuts and putting some painter's tape along it to provide a guide.


I also needed to build a platform within the base cabinet to support the sink and up to 400lbs of weight (what it weights when full of water). So I constructed a platform out of 2x4's carefully measuring them to set the height of the sink to where i needed it and then laying a piece of plywood on top.

With the countertop installers coming to template, I had to shift into gear to get the kitchen prepped for it. I focused on building out the peninsula by getting the cabinets connected and plumb. Also i had to create a 30" space in the end for the under counter fridge which also involved running the electrical there. To give the peninsula more support towards the end, I decided to tie it all together with a sheet of plywood along the backside and screwing it all together. It looks pretty solid now.
Lastly, I needed to get the plywood subtops on which got a little tricky on the peninsula where we're going for a 14" overhang for some bar stools. To provide more support, not only did I go with a thicker plywood (21/32) but I also elected to route the top and place steel into it rather then putting corbels below. I hate corbels because you always wack your knees on them. After getting it all routed, in went the steel which will end up getting sandwiched between the plywood and stone counter for more support.


Laundry..
We finally got a working laundry room by moving our appliances in thankfully without dinging any walls. It's soo nice to be able to do laundry again!


Next we should be making significant progress on the kitchen (hopefully finishing most of it), get going on flooring, get the master bath hardware installed, and get our master closet ordered.
Paint..
The interior walls were repainted by the painting company after there was a lot of overspray due to their painting the trim. They made a mistake painting one wall in gloss when the whole house has matte walls however they corrected it once we pointed it out.
Also they made quite a bit of progress painting and staining the stairs. We've had a lot of issues with the look of the stain.. It's very dense wood and wasn't taking the stain well. There was a lot of inconsistency in the stain being darker and lighter here and there. Also runs in the stain which looked a lot like wet stain dripped down along the wood and created darker areas. Then the gloss finish also was pretty coarse looking like it needed sanding. But we've been working with the guy and things continuously look better as they work no and rework on the stairs.
Kitchen..
The kitchen sink needed to get installed which meant cutting out the front face of the base cabinet after creating a template from the sink itself. I ended up cutting it out with a jigsaw after carefully tracing where i wanted to make the cuts and putting some painter's tape along it to provide a guide.


I also needed to build a platform within the base cabinet to support the sink and up to 400lbs of weight (what it weights when full of water). So I constructed a platform out of 2x4's carefully measuring them to set the height of the sink to where i needed it and then laying a piece of plywood on top.
With the countertop installers coming to template, I had to shift into gear to get the kitchen prepped for it. I focused on building out the peninsula by getting the cabinets connected and plumb. Also i had to create a 30" space in the end for the under counter fridge which also involved running the electrical there. To give the peninsula more support towards the end, I decided to tie it all together with a sheet of plywood along the backside and screwing it all together. It looks pretty solid now.
Lastly, I needed to get the plywood subtops on which got a little tricky on the peninsula where we're going for a 14" overhang for some bar stools. To provide more support, not only did I go with a thicker plywood (21/32) but I also elected to route the top and place steel into it rather then putting corbels below. I hate corbels because you always wack your knees on them. After getting it all routed, in went the steel which will end up getting sandwiched between the plywood and stone counter for more support.

laying out the steel support to be routed into the plywood


routing channels into the top for the steel.. messy work


Laundry..
We finally got a working laundry room by moving our appliances in thankfully without dinging any walls. It's soo nice to be able to do laundry again!


Next we should be making significant progress on the kitchen (hopefully finishing most of it), get going on flooring, get the master bath hardware installed, and get our master closet ordered.


