The rain stopped so quite a bit of work got done this month.. We can feel the date where we can move back in approaching finally.
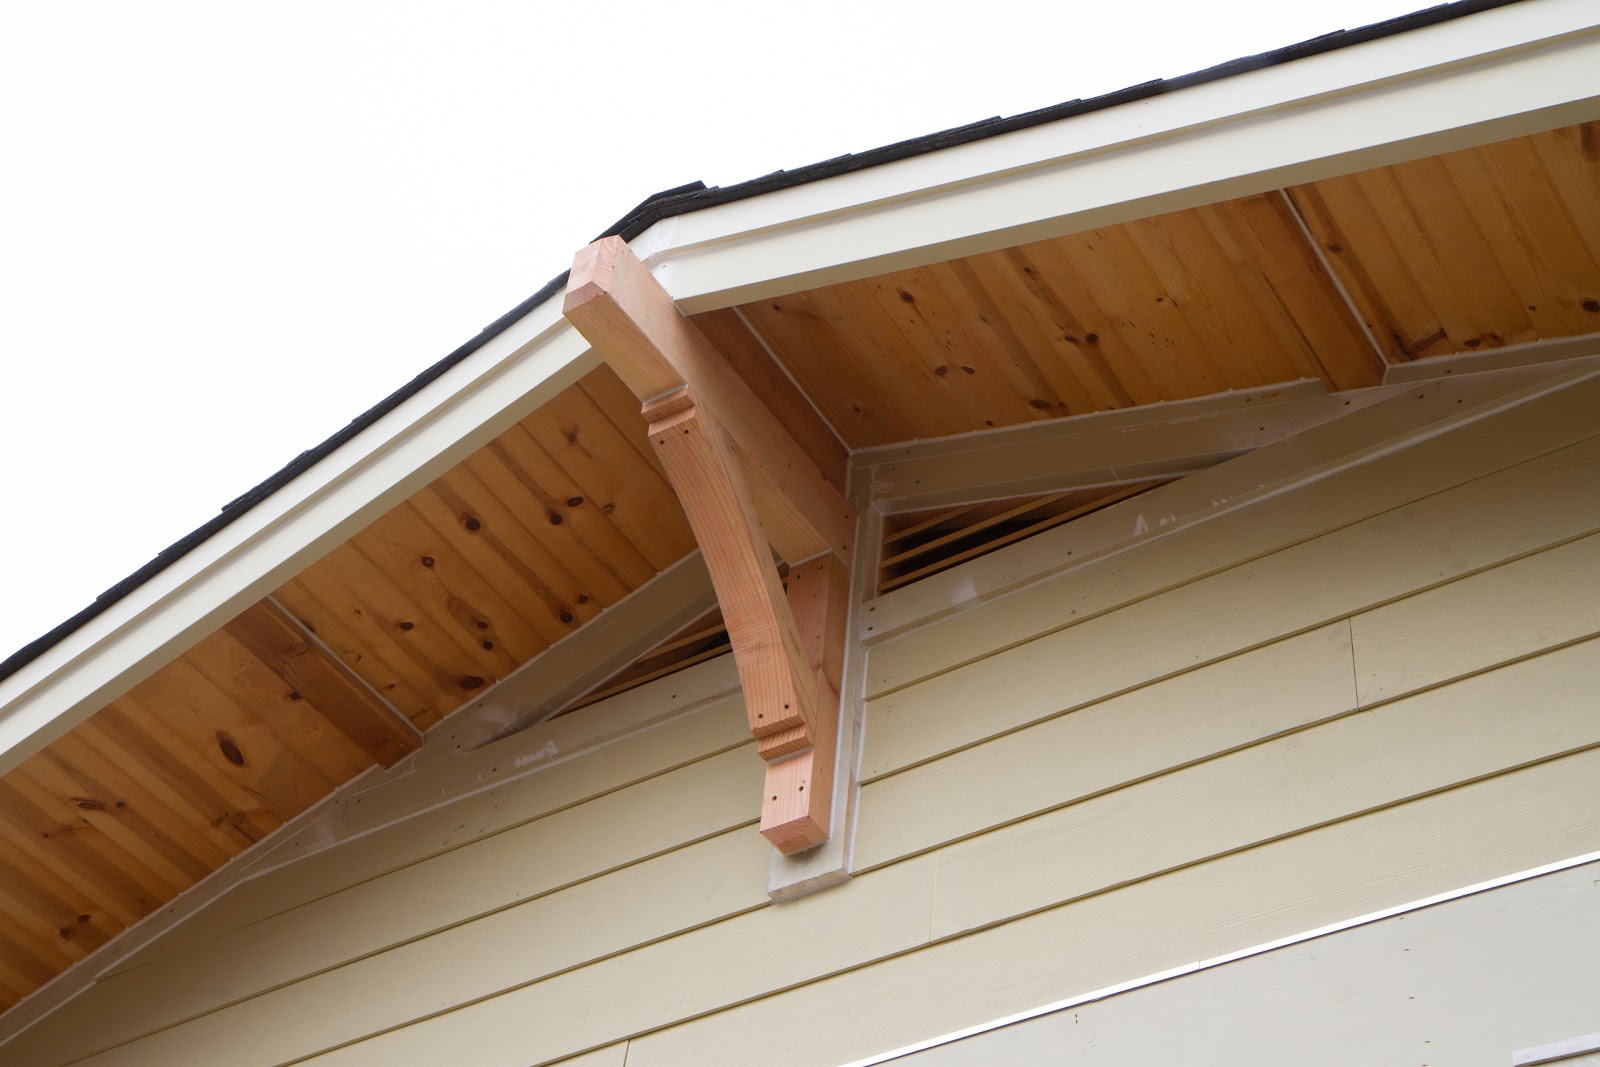
The builder mostly worked on wrapping up the exterior and preparing for paint, and getting going on the interior bathrooms and master bedroom. For the exterior, they mostly finished the banisters, columns, pergola, and corbels. Also the paint guys spent nearly two weeks prepping the outside for paint by caulking everything, sanding certain things, and covering the windows..


The tile guys installed the initial paper barrier and chicken wire, and then came in and floated the floor, shower and feature wall with mortar. So we're almost to where they'll start installing the radiant heat flooring and tile.


We have also been wrapping up some of the interior painting that needed touching up (2nd coats) and painting the master bathroom.. It turns out that the Aura bath version of the paint really does seem to require two coats in the bathrooms. It has a bit of a more oily feel then the non bath version of the paint and it doesn't cover as effectively.
Lastly, we got the interior trim going which I've never done before. Our trim is is 7 different pieces that need to be assembled as I showed previously. We started by deciding to paint (spray) all the materials before cutting and assembly figuring this would look great and minimize brush strokes. So I borrowed a friend's sprayer, bought myself a saw, did some research, and got to it!


You have to pay a lot more attention while doing trim then you do painting. I've gone from listening to podcasts while painting to just music for trim so that I can concentrate. However i'm probably saving nearly $20k doing the work myself and it's actually pretty satisfying albeit slower then i'd like. So far, i'm lucky to do a window and door per full day's work. But a lot of that has to do with how flush the drywall is with the jams and I've gotten more efficient in general. E.g. now I will miter all the end pieces since they're the same in mass since you tend to get in a rhythm when you can build a bunch of things all at once rather then doing just one window or door at at time.
One thing that's half art, half science, and has a good dose of energy is hammering in the drywall around the frame if it stands proud of the jam so that the trim sits flush to everything. I've gotten a lot better and faster doing it now and refined my technique.
In hindsight, the materials get banged up a bit during assembly so I may change tactics a bit and spray the header and footer after assembly and before mounting to the walls. I think that'll work better in the long run. Anyways, maybe i'll post some photos of the process on my next update...
The builder mostly worked on wrapping up the exterior and preparing for paint, and getting going on the interior bathrooms and master bedroom. For the exterior, they mostly finished the banisters, columns, pergola, and corbels. Also the paint guys spent nearly two weeks prepping the outside for paint by caulking everything, sanding certain things, and covering the windows..
The tile guys installed the initial paper barrier and chicken wire, and then came in and floated the floor, shower and feature wall with mortar. So we're almost to where they'll start installing the radiant heat flooring and tile.
before floating everything
after floating everything
We have also been wrapping up some of the interior painting that needed touching up (2nd coats) and painting the master bathroom.. It turns out that the Aura bath version of the paint really does seem to require two coats in the bathrooms. It has a bit of a more oily feel then the non bath version of the paint and it doesn't cover as effectively.
Lastly, we got the interior trim going which I've never done before. Our trim is is 7 different pieces that need to be assembled as I showed previously. We started by deciding to paint (spray) all the materials before cutting and assembly figuring this would look great and minimize brush strokes. So I borrowed a friend's sprayer, bought myself a saw, did some research, and got to it!
my first saw
spray painting the trim outside
First object that i trimmed!
uhg.. not the gap i was going for..
first door trimmed
a set of french doors with trim
what the great room looks like during all this..
One thing that's half art, half science, and has a good dose of energy is hammering in the drywall around the frame if it stands proud of the jam so that the trim sits flush to everything. I've gotten a lot better and faster doing it now and refined my technique.
In hindsight, the materials get banged up a bit during assembly so I may change tactics a bit and spray the header and footer after assembly and before mounting to the walls. I think that'll work better in the long run. Anyways, maybe i'll post some photos of the process on my next update...


